Set up and use Flex Webchat 2.0
Warning
Webchat 2.0 is no longer supported. It uses Flex UI 1.x.x's legacy messaging, which has reached end-of-life.
If you are using Webchat 2.0, migrate to Webchat 3.x.x.
If you are starting out with Webchat, build with Webchat 3.x.x instead.
Info
Auto-Generated Documentation for the Flex Webchat UI is now available as a Public Beta distribution. The auto-generated documentation is accurate and comprehensive but may differ from what you see in the official Flex Webchat UI documentation.
Info
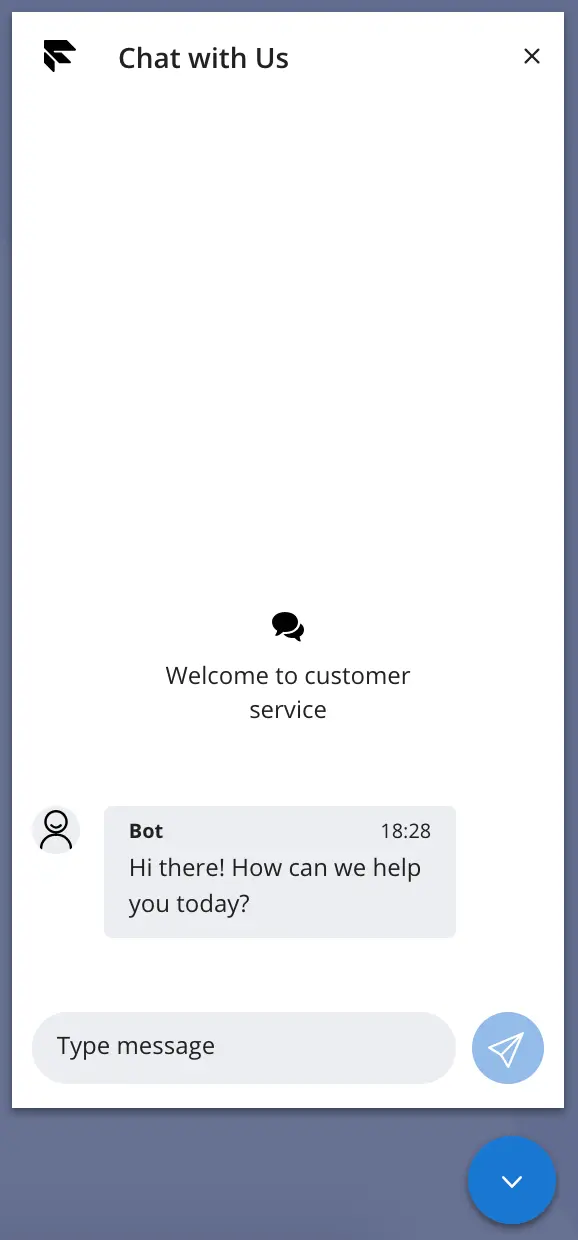
Flex WebChat is not supported on mobile devices.
There are currently two ways to consume Flex Webchat 2.0:
To get access and set up Flex Webchat, you will need to complete the Flex Quickstart first.
There are 2 ways to add Flex Webchat from CDN:
The following steps are the quickest way to add Flex Webchat to your app. However, a CDN setup will not allow for more advanced programmability of the initialization flow for Flex Webchat.
- Add the following
scripttag to the index.htmlheadtag to include Webchat bundle from CDN.
You can optionally include an integrity token to verify that Flex Webchat is delivered without unexpected manipulation. If so, make sure to include "integrity" and "crossorigin" keys in the script.
<script src="https://assets.flex.twilio.com/releases/flex-webchat-ui/2.9.1/twilio-flex-webchat.min.js" integrity="sha512-yBmOHVWuWT6HOjfgPYkFe70bboby/BTj9TGHXTlEatWnYkW5fFezXqW9ZgNtuRUqHWrzNXVsqu6cKm3Y04kHMA==" crossorigin></script>
The following table displays the integrity tokens of previous versions (starting from v2.2.0).
| Version | Integrity Token |
|---|---|
| 2.9.4 | sha512-dTCuWmpLM5hU93AkDjgZjRGT0dKNwJZgriDAVq6ToVtdr3SBFByDMqlRxg7BuXAuv2sgNcWZdUGt5mWjHK3x1A== |
| 2.9.3 | sha512-lL9Ihx5WpKGmP1wzno3O9BMWAnKJDxfNfoE7/HnVfESbtBAzA6jUhAOU+b4Nq3WvZthSf7mOH3SNo7+zVP7BVQ== |
| 2.9.2 | sha512-tJ0ckYeprEDAU9/Lx+11oITGmYQvu9eIyhzNtYrmWcOHYW0Wexkry26dvl0Z+3ypj9ErNuv3o8x7OeSMtaGZnw== |
| 2.9.1 | sha512-yBmOHVWuWT6HOjfgPYkFe70bboby/BTj9TGHXTlEatWnYkW5fFezXqW9ZgNtuRUqHWrzNXVsqu6cKm3Y04kHMA== |
| 2.9.0 | sha512-gfk5re40mGDic7co5dfTc4ZVtL2sQ0xFrzsJsMg1QbDisA3UyQB5Crd7Yyk7AOeGvdX1pltln7pq/aADzTJD4g== |
| 2.8.1 | sha512-KzpB56iRohSbDOkfM/V0PTp9DGHMno2EJJx6Zg8Ul3byOV3xtAurIZ+NibcO+cc0SEDvodI/5SKMSv2p+gwSYw== |
| 2.8.0 | sha512-442DGR3EEEkHK5QAlm+JpfehHr8+x3wq5TAbypQRbmEE5oHl0LeAtCVk3xfZ6bV+QjrlwKGkbT51zQ+v1A2Ueg== |
| 2.7.1 | sha512-uxirrFUoGuvGOOIkCX5ZzQ5WfEuDqRwtherlm5QjZxNeVoFgzL3KZXA98NHV8RsAdR2awLmOmBN1r/QCgEFvhA== |
| 2.7.0 | sha512-DWeN99d0UwyKwY/cBk9bMrjwdU6XFWynM4kQ+Yee6dZNwf0ZVzLJhJs2d6GbG/W3VOw6mUVS0JhSw4WI2wVeyA== |
| 2.6.1 | sha512-cQHsT9wKBmSjqHJxF85LdMKQiTXW6Bvmvq8mgg05lvcq0RMZmIdAe/hBjlmwZR1WgZVbq1CW2e+8DWfifDdiLw== |
| 2.6.0 | sha512-E1OX3Cyq3KaDo4WM6fITGRv2eiGQbK40AJxNdsvC6BRxkUGp7f4RchZeOAVXHTTA3+4KjSeZDJB1cFpikR5EVw== |
| 2.5.1 | sha512-PtzV20UxBmoawZw6NrwzeHTrGYUBTVOe2dRO1PFnhilM48HKgbQ6BId5QURWoK3d3Fjgw03h8xTl3YvBvqzIuQ== |
| 2.5.0 | sha512-aJbAHiYQxwqK+Hi32EnFKywUXDp8bPtKNwm/pSgd5Eie7OW28RQlKxmKqvDhiekVRD0reJNSbzF5wjK4VG85sQ== |
| 2.4.0 | sha512-sJe2ZYbixQ0qDkEDC0c0DWjEAo6a5+fwPjCVQ4uWAj89hnFsYZgwbG/AFWlbNzFKkue7lM5oWqXjMp7p6Fi0KQ== |
| 2.3.1 | sha512-v+iq1pWN5HHQtNoUKDnQCVJhTgmbozCgRKkIdCI4Ub8bKuXs7TmPDoEAtPZJXExY+0CNw4vU+TlosD6MEvNn+g== |
| 2.3.0 | sha512-G4oFESS6nt1URwN23X670e1N7UIgiGJyINEsyrexNp28GSSrJ6GVwJCDElIDaZUIHOJiEwoJPdi2iT5S03XzKw== |
| 2.2.1 | sha512-q5oRRUPjLeW69a3nlGBt0iR4V5yBY/7ALQ85veEPFRh1xfp8LPy6/JwITfHJVqfNnDOqXpvnyiijNGWYlK8dSw== |
| 2.2.0 | sha512-bOmqok+FZdtlOKVEy830tV9tNvTm7dknDYWwZLcB/O4q3Cg5oS7jDoZO4zzHL2nAjlc5Im4Ws+4RZNemvetSHA== |
- Add the following
scripttag to the index.htmlbodytag to initialize Webchat.
1<script>2const appConfig = {3accountSid:"AC...",4flexFlowSid:"FO..."5};6Twilio.FlexWebChat.renderWebChat(appConfig);7</script>
The following steps will allow you to customize the FlexWebChat initialization flow before you render the Webchat, as it consists of two parts: initialize and render. This option allows you to tap into customization before the render method executes.
1Twilio.FlexWebChat.createWebChat(appConfig).then(webchat => {2const { manager } = webchat;34// Posting question from preengagement form as users first chat message5Twilio.FlexWebChat.Actions.on("afterStartEngagement", (payload) => {6const { question } = payload.formData;7if (!question)8return;910const { channelSid } = manager.store.getState().flex.session;11manager12.chatClient.getChannelBySid(channelSid)13.then(channel => channel.sendMessage(question));14});15// Changing the Welcome message16manager.strings.WelcomeMessage = "New text for welcome message";1718// Render WebChat19webchat.init();20});
While logged into Flex as an administrator, you can find the flexFlowSid and accountSid in the Flex admin (https://flex.twilio.com/admin/developers). You can learn more about Projects in the Twilio Support Documentation.
To get you started with consuming the @twilio/flex-webchat-ui package from npm, we provide a sample project based on create-react-app.
Run the following steps to get started using the sample project:
- Clone the sample project from GitHub.
git clone https://github.com/twilio/flex-webchat-ui-sample.git
- Change into the
flex-webchat-ui-sampledirectory, then install dependencies.
1cd flex-webchat-ui-sample2npm install
- Copy the sample configuration and edit
webchat-appConfig.jsaccordingly to your Twilio account.
cp public/assets/webchat-appConfig.sample.js public/assets/webchat-appConfig.js
- Start the test server.
npm start
- Your local Flex UI will be running on
http://localhost:8081.
Out of the box, the Webchat is configured to initiate chat (trigger startEngagement action) on user entryPoint click. The following steps happen on start of the engagement:
- Token is issued
- Chat channel is created
- Programmable chat user is created with default
friendlyNameand added as a member to the channel - MessagingCanvas is loaded with the created
channelSid - A predefined message is shown to the user as a call to action
Webchat is one of the channels that is integrated with Flex out of the box. When an incoming message is sent to the chat channel, it triggers a Studio Flow. By default, this is the Webchat Flow, which you can customize within the Twilio Console.
The first incoming message on the chat channel will trigger a new execution on the Studio Flow. Here you can automate a conversation using the Send & Wait for Reply widget before passing the conversation directly to an agent with the Send to Flex widget.
The Send to Flex widget then creates a TaskRouter task with the attributes provided, and removes the chat channel webhook so that future incoming messages won't retrigger the Studio flow.
Pre-engagement data can be accessed by Studio's Liquid syntax. For example, you could include in the Send to Flex widget:
1{"question": "{{trigger.message.ChannelAttributes.pre_engagement_data.question}}"}2
Now that you have Webchat running, you can:
- Change the look and feel to your web page style.
- Customize chat behavior with basic configuration or actions framework.
- Add a pre-engagement form to ask the user for additional data before starting the chat.
- Gather and send contextual data of the user to be used in routing the chat to an agent or displaying it to an agent.