Works with Super SIM: u-blox SARA-R5
The u-blox SARA-R5 is a family of cellular modules based on u‑blox's UBX-R5 cellular chipset and M8 GNSS receiver chip. SARA-R5 series modules support Cat-M1 and NB-IoT, and — together with Super SIM — deliver great connectivity optimized for IoT applications.
- SARA-R500S — Multi-regional Cat-M1/NB-IoT module.
- SARA-R510S — Multi-regional Cat-M1/NB-IoT module for ultra-low power applications.
- SARA-R510M8S — Multi-regional Cat-M1/NB-IoT module with integrated u-blox M8 GNSS receiver.
Info
Learn more about the SARA-R5 series of modules on the u-blox website.
Warning
Update your R5's firmware to version 3.15 or above for use with Super SIM. You can check the installed version with AT+GMR. Please see the SARA-R5 AT commands manual to learn how to update the module.
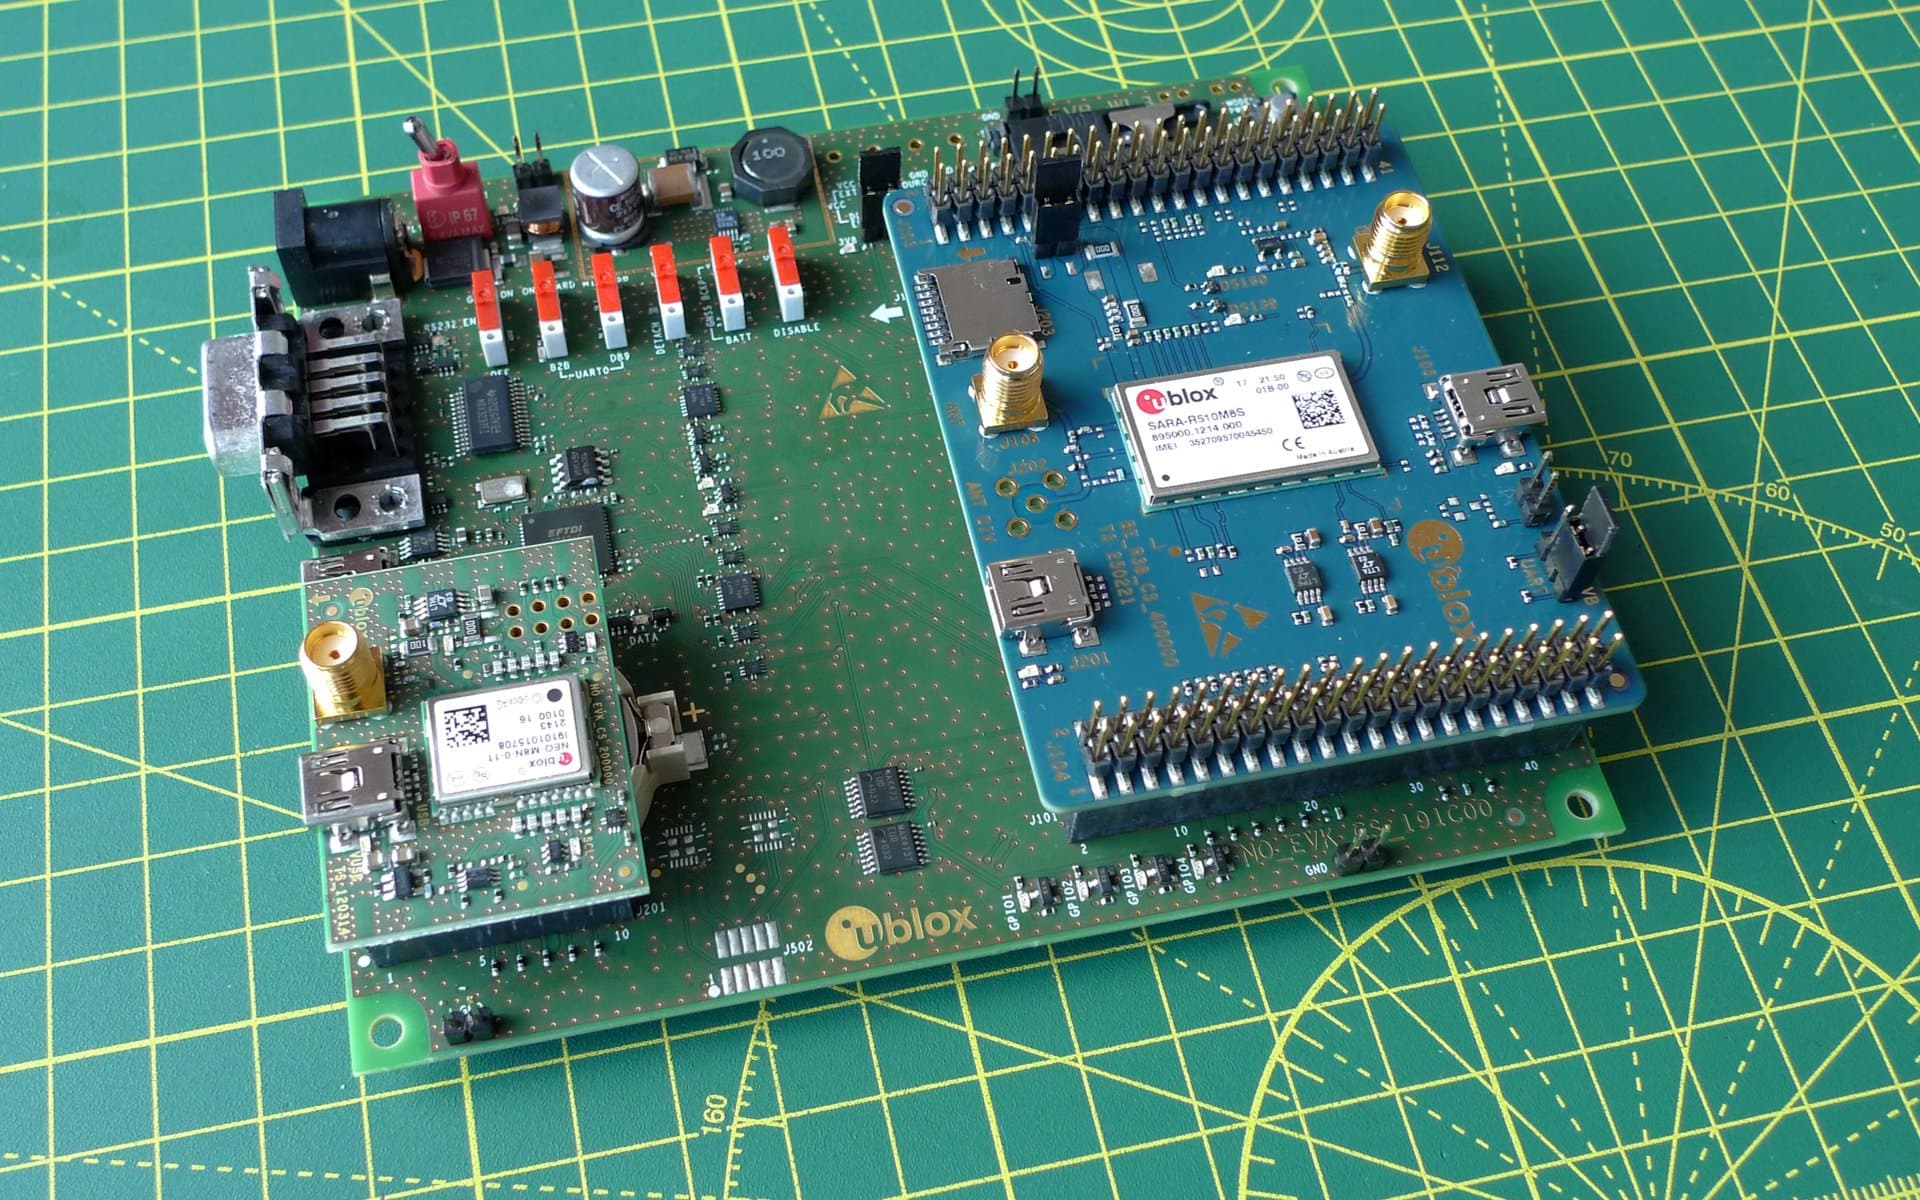
The best way to begin working with the SARA-R5 is to take advantage of u-blox's EVK-R5 developer kit. It features powerful tools in an environment specifically designed for the development and testing of cellular and GNSS applications based on the SARA-R5. It includes a USB interface and a built‑in u‑blox GNSS receiver module for SARA-R5 variants that do not feature an integrated unit. The kit can be connected to and used with a Windows 10, Linux or macOS computer.
The EVK-R5 can be obtained from the following recommended suppliers:
Warning
If you obtain your developer kit from a third-party, including Digikey and Mouser, please confirm they have the 01B version before purchasing. This version includes the module's latest production firmware.
Info
Working with the EVK-R5 and SARA-R5 requires a configured Super SIM. If you haven't set up your Super SIM in the Console, please do so now. The Super SIM First Steps guide has help if you need it.
-
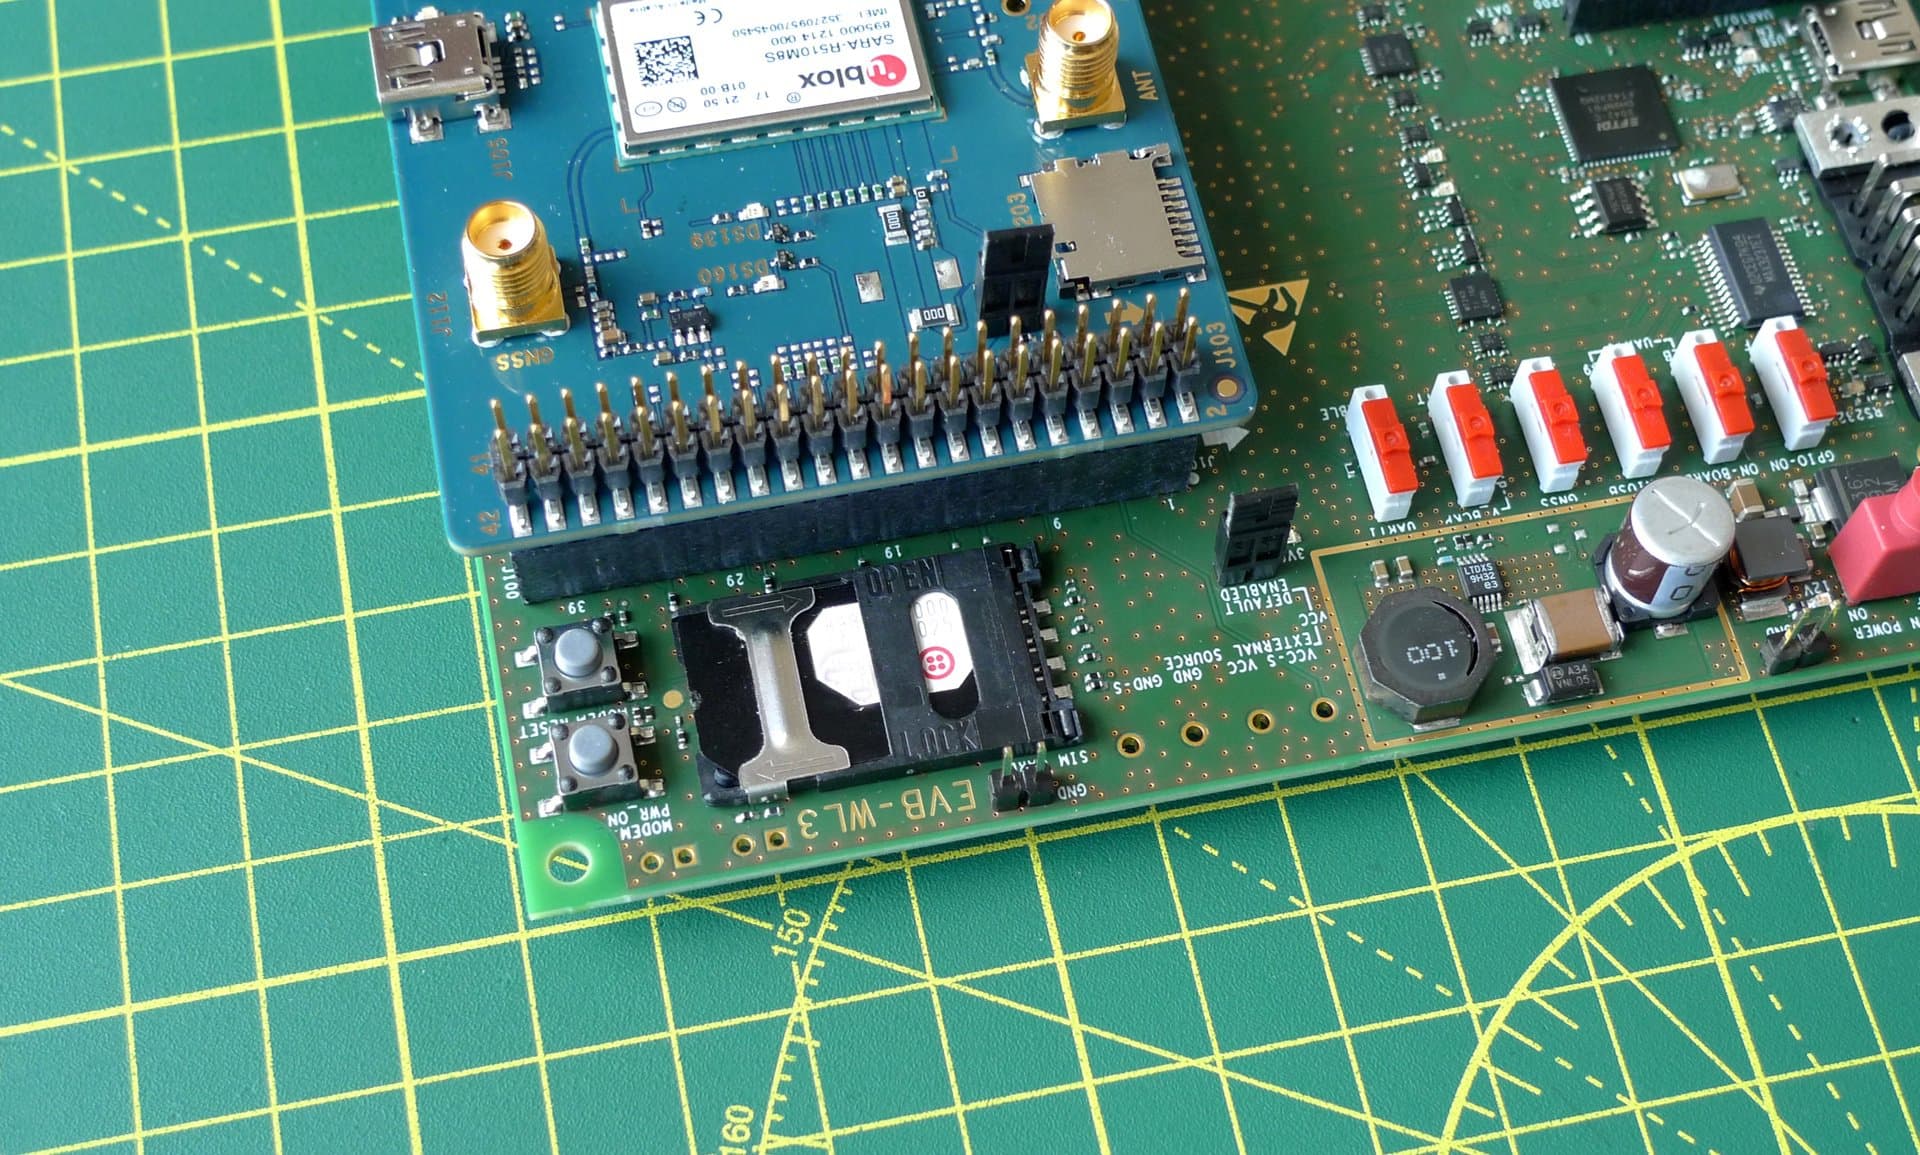
Slot a Super SIM into the board's SIM holder. It takes a standard-sized SIM, or a micro- or nano-SIM first fitted into an adapter:
-
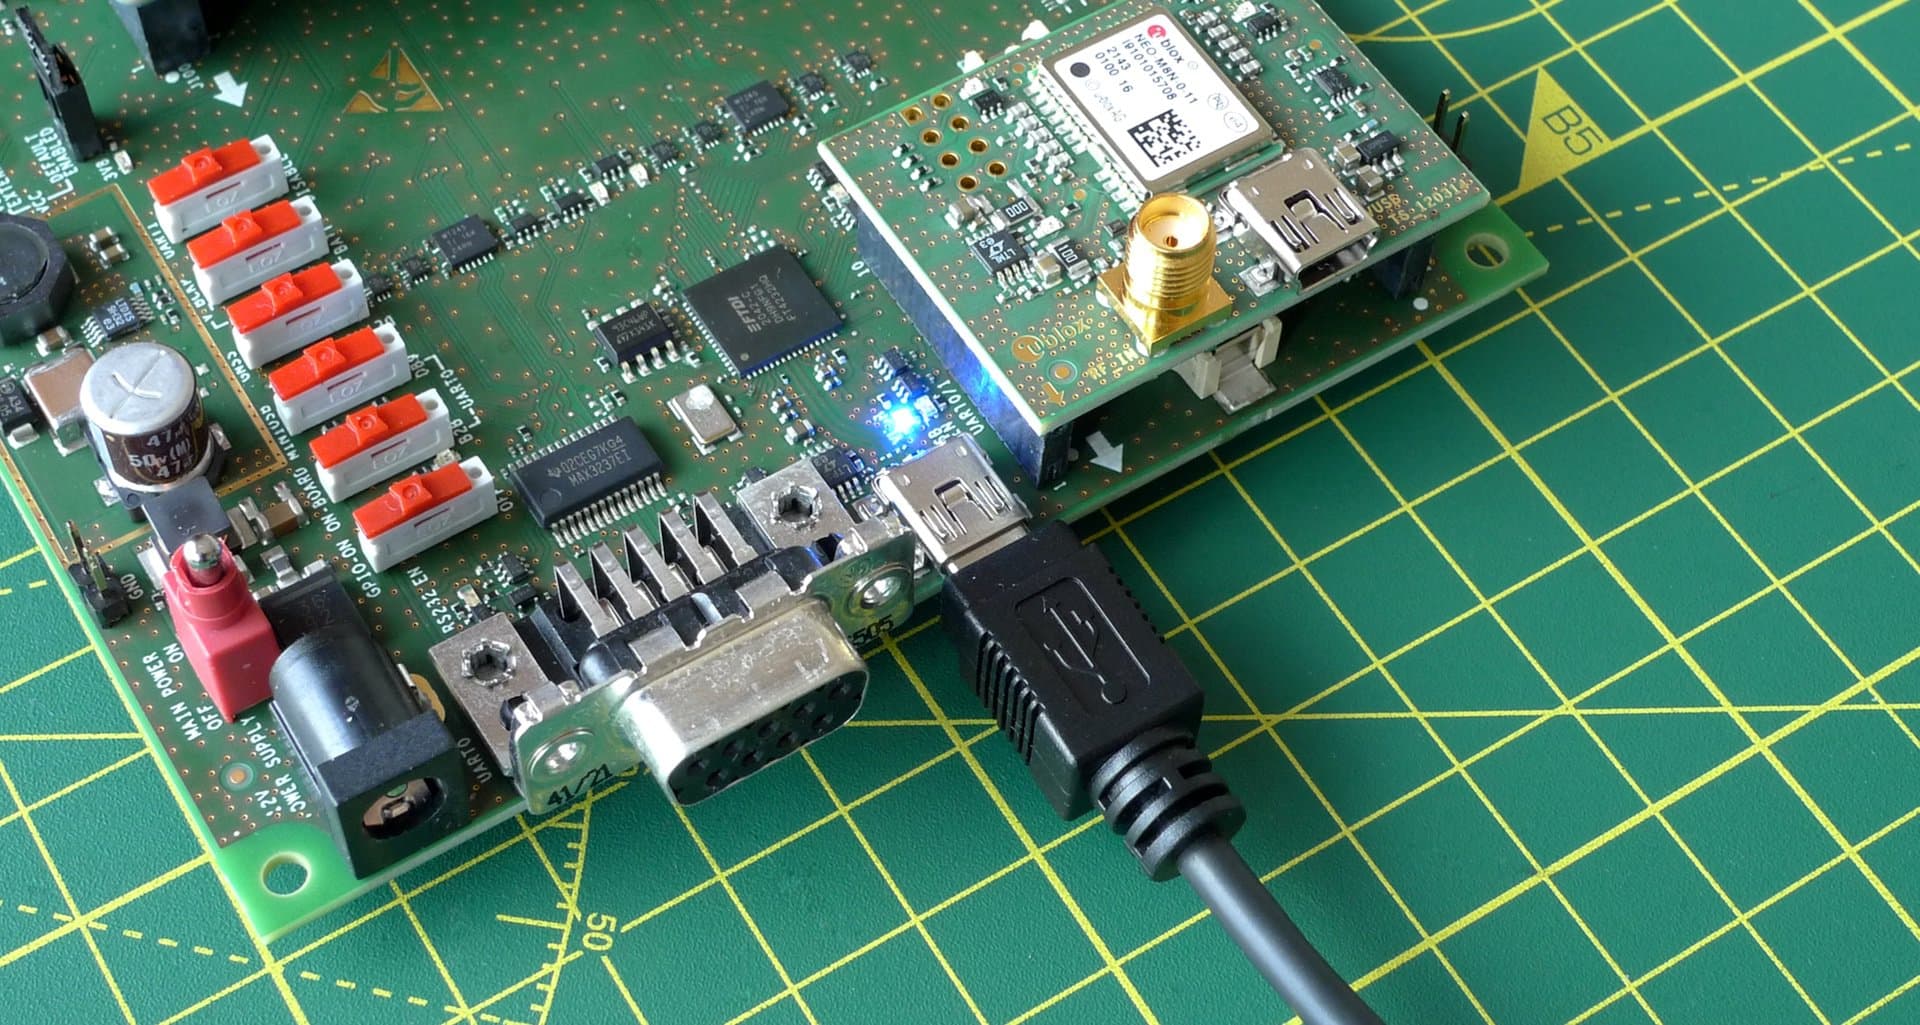
Connect the supplied LTE antenna to the ANT connector on the SARA-R5 daughtercard:

-
Connect the EVK-R5 to your computer by the supplied mini USB cable. Use the mini USB connector alongside the GNSS daughtercard:
-
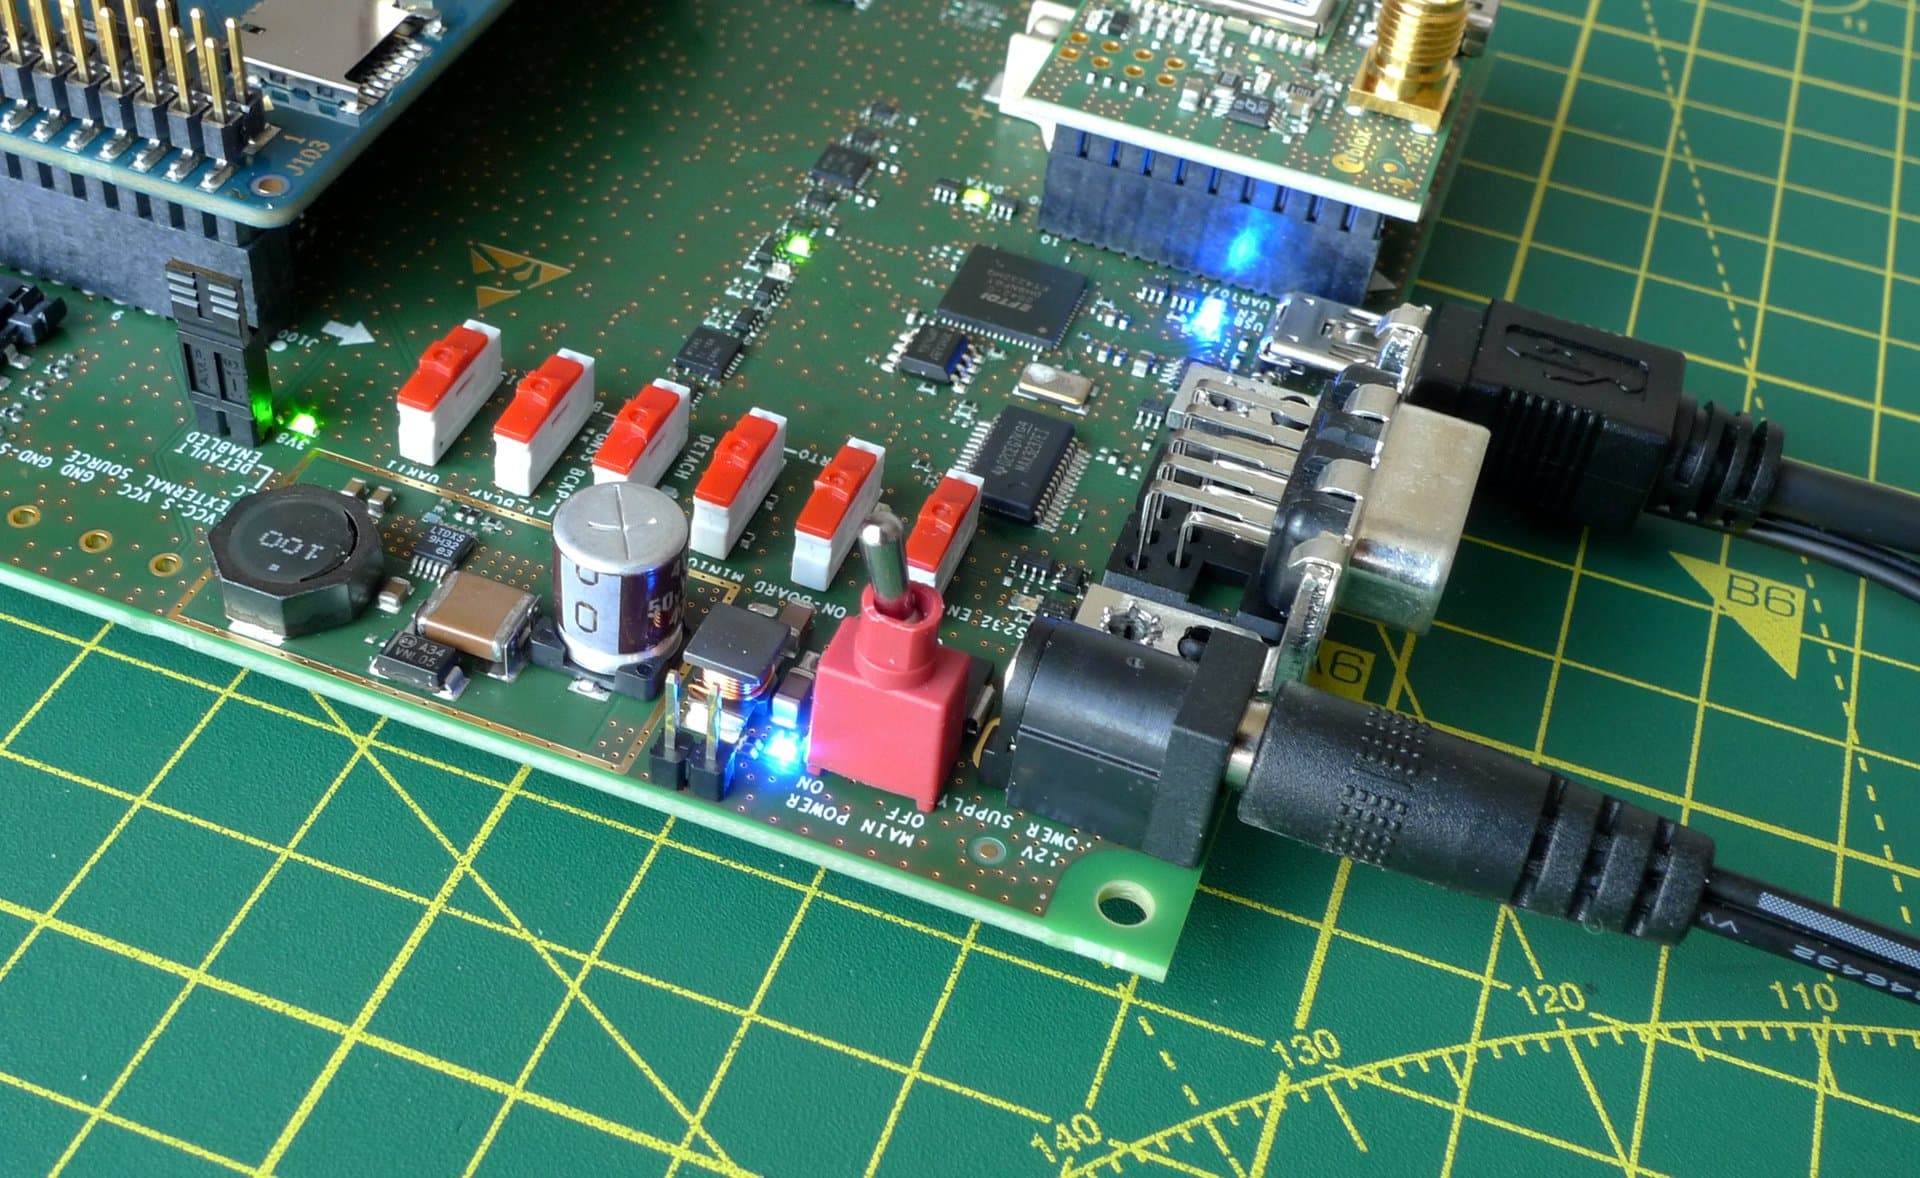
Connect the EVK-R5 to power using the supplied AC adapter.
-
Turn the board on by flipping the power toggle:
-
Open your distribution's terminal app.
-
Confirm connection with
ls /dev/ttyUSB*— you should see four devices listed/dev/ttyUSBxwhere x is 0 through 3: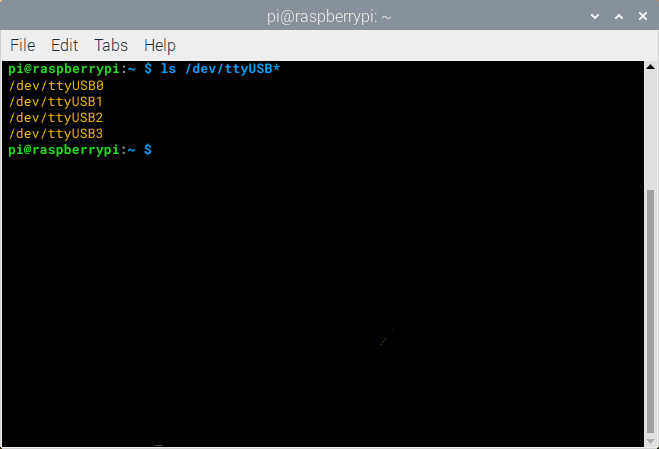
The USB-to-serial device you'll use to communicate with the EVK-R5 is/dev/ttyUBS2. -
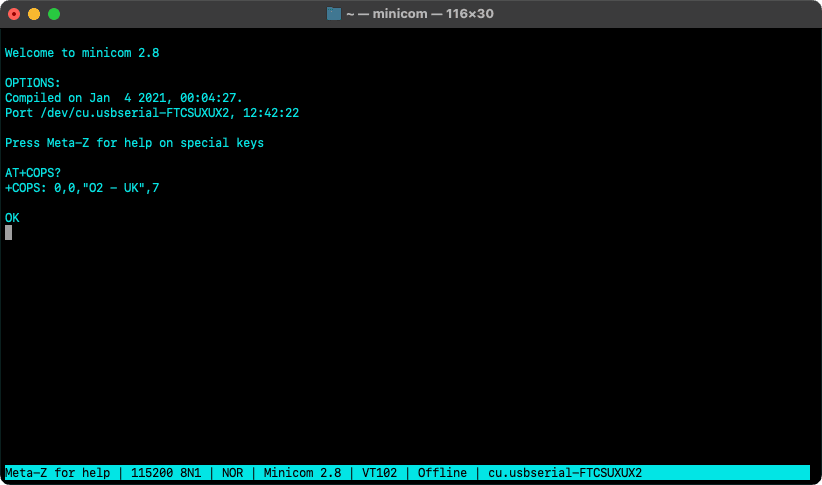
Using a serial tool like
minicom— you will have to install this separately from source or a package manager likeapt— access the board withminicom -o -D /dev/ttyUSB2.


Within minicom or PuTTY, enter the AT command AT+COPS? to see which carrier your SARA-R5 is connected through:
Update your R5's firmware to version 3.15 or above for use with Super SIM. You can check the installed version with AT+GMR. Please see the SARA-R5's AT commands manual to learn how to update the module.
The SARA-R5 supports LTE Cat-M1 and NB-IoT in bands 1, 2, 3, 4, 5, 8, 12, 13, 18, 19, 20, 25, 26, 28, 66, 71, and 85. Super SIM is compatible with Cat-M1 but not NB-IoT. It's therefore important to ensure that your SARA-R5 is set to operate using Cat-M1 only.
SARA-R5 supports the use of only a single cellular Radio Access Technology (RAT) at a time, so if Cat-M1 is selected and no suitable network is available, the module will not attempt to connect using NB-IoT. Consequently, if you have set the module to use NB-IoT, it will never connect until Cat-M1 is set as the favored RAT.
By default, all current SARA-R5 variants prioritize Cat-M1, but you can set this manually by issuing the command AT+URAT and specifying the value 7. You should apply the value using the following command sequence:
1AT+CFUN=02AT+URAT=73AT+CFUN=16
The AT+CFUN commands first disable cellular operation and, lastly, re-enable cellular operation after first rebooting the module. The reboot is required to persist the specified RAT value.
Issue this AT command first to apply the Super SIM Access Point Name (APN):
AT+CGDCONT=1,"IP","super"
The SARA-R5 enables roaming automatically.
The following commands can be used to establish a PDP context once the APN has been set:
1AT+CGACT=1,12AT+UPSD=0,0,03AT+UPSD=0,100,14AT+UPSDA=0,3
Line two must match the PDP type set in the above AT+CGDCONT command. For example, the latter includes "IP" to select IPv4, so the final parameter of AT+UPSD=0,0,0 must also indicate IPv4, i.e., 0.
Line three maps the module's internal packet-switched data (PSD) profile, 0, to the PDP context ID, 1, set with the AT+CGDCONT command shown above. For more information on SARA-R5 PSD profiles, please see the SARA-R5 Internet Applications Development Guide.
Line four activates PSD profile 0, and will return +UUPSDA: 0,"aaa.bbb.ccc.ddd" where aaa.bbb.ccc.ddd is your device's IP address.
Issue the u-blox specific command AT+UPING=<TARGET_IP_ADDRESS_OR_NAME> to ping a server. Using one of Google's DNS servers as an example, this will yield:
1AT+UPING="8.8.8.8"2OK34+UUPING: 1,32,"dns.google","8.8.8.8",109,11055+UUPING: 2,32,"dns.google","8.8.8.8",109,2716+UUPING: 3,32,"dns.google","8.8.8.8",109,2387+UUPING: 4,32,"dns.google","8.8.8.8",109,216
By default, +UPING issues only four pings.
To perform an HTTP GET using the SARA-R5's built-in HTTP client:
- Set up a data connection as described above.
- Reset the parameters of HTTP profile 0 to the defaults:
AT+UHTTP=0. - Configure the HTTP server name:
AT+UHTTP=0,1,"api.ipify.org". - Perform a
GETrequest using profile 0 and store the result in the filetest.ffs:AT+UHTTPC=0,1,"/","test.ffs".- The modem will respond with
+UUHTTPCR: 0,1,1. This may take a moment or two as the server's DNS name is resolved and then the HTTP request is issued.
- The modem will respond with
The file test.ffs will contain the response from the server. Request the file by issuing AT+URDFILE="test.ffs". This will yield:
1+URDFILE: "test.ffs",178,"HTTP/1.1 200 OK2Server: Cowboy3Connection: close4Content-Type: text/plain5Vary: Origin6Date: Mon, 14 Mar 2022 11:54:03 GMT7Content-Length: 118Via: 1.1 vegur9103.239.194.9"11OK
Warning
This example uses a service that returns the IP address of the requester.
While the SARA-R5 supports low-power modes for eDRX and PSM, support for these features will vary by visited network and location. The commands to enable each of these settings on the SARA-R5 are, respectively:
1AT+CEDRXS=12AT+CPSMS=1
Both settings, but especially PSM, can prevent the modem from being accessible through the terminal during its sleep time. It's best to experiment with these features with the modem local. To disable all power saving if needed, send:
1AT+CEDRXS=02AT+CPSMS=0
You can learn more about implementing these modes in our power optimization documentation and by consulting the SARA-R5 AT commands manual.
Keen to find out more about how the u-blox SARA-R5 family of cellular modules can power your IoT product design? Contact u-blox sales to line up a conversation.
And don't forget we're always ready to discuss how Super SIM can help you too.