Push Notifications on Web for Programmable Chat
Danger
Programmable Chat has been deprecated and is no longer supported. Instead, we'll be focusing on the next generation of chat: Twilio Conversations. Find out more about the EOL process here.
If you're starting a new project, please visit the Conversations Docs to begin. If you've already built on Programmable Chat, please visit our Migration Guide to learn about how to switch.
Push notifications are an important part of the web experience. Users have grown accustomed to having push notifications be a part of virtually every app that they use. The JavaScript Programmable Chat SDK is built to have Firebase Cloud Messaging (FCM) push notifications integrated into it. Managing your push credentials is necessary as your registration token is required for the Chat SDK to be able to send any notifications through FCM. Let's go through the process of managing your push credentials.
IMPORTANT: The default enabled flag for new Service instances for all Push Notifications is false. This means that Push will be disabled until you explicitly enable it. Follow this guide to do so.
The developer must configure Firebase Cloud Messaging (FCM) before configuring notifications. Google provides a Firebase Console to manage Firebase services and configurations.
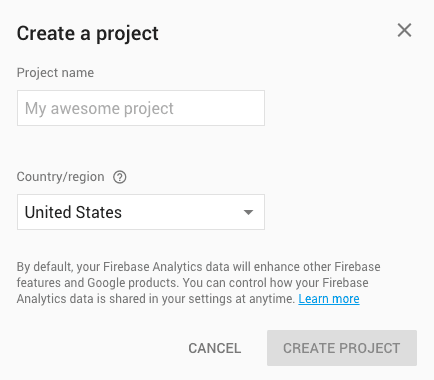
To use push notifications for your Android apps, you will need to create a project on the Firebase Console:

The Firebase Cloud Messaging (FCM) requires configuration to initialize. The Firebase console has a way to generate this configuration.
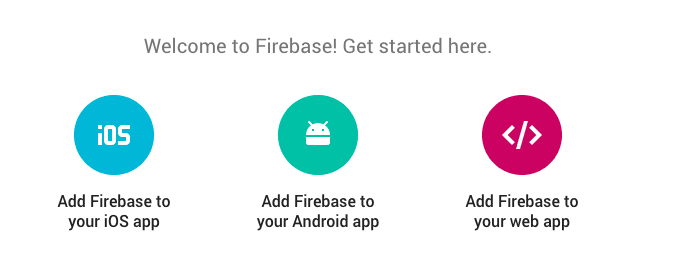
After you create a Firebase project, you can select option to add Firebase to your web app:

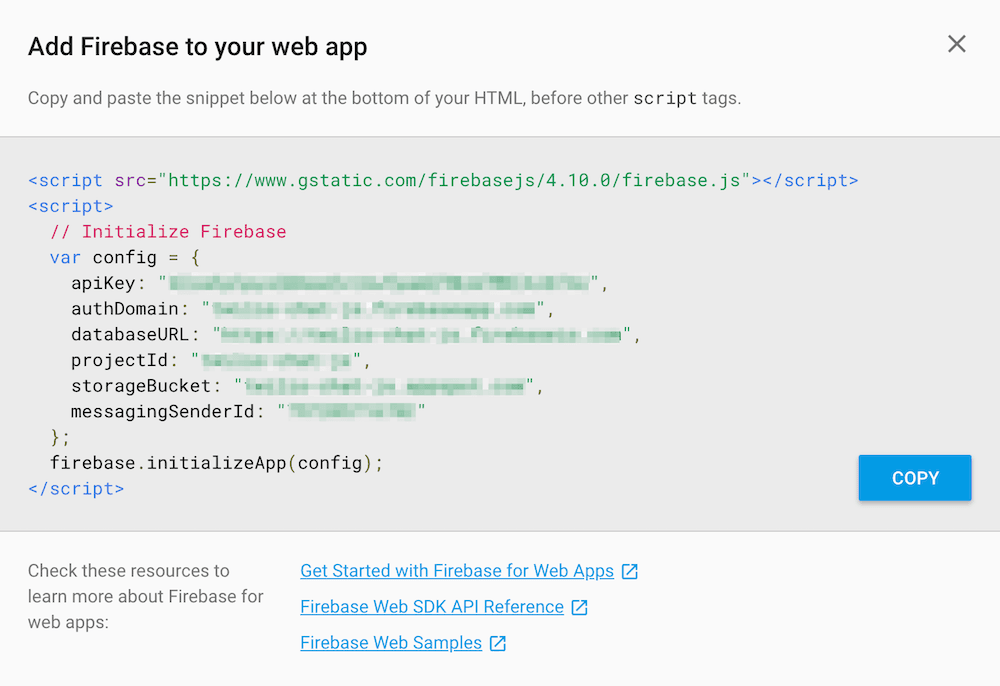
Clicking the right-most link ("Add Firebase to your web app") will bring up this dialog:

This dialog contains sample JavaScript code with filled-in parameters that you can use in your newly created project.
Save this sample code with configuration - we will use it later in this guide.
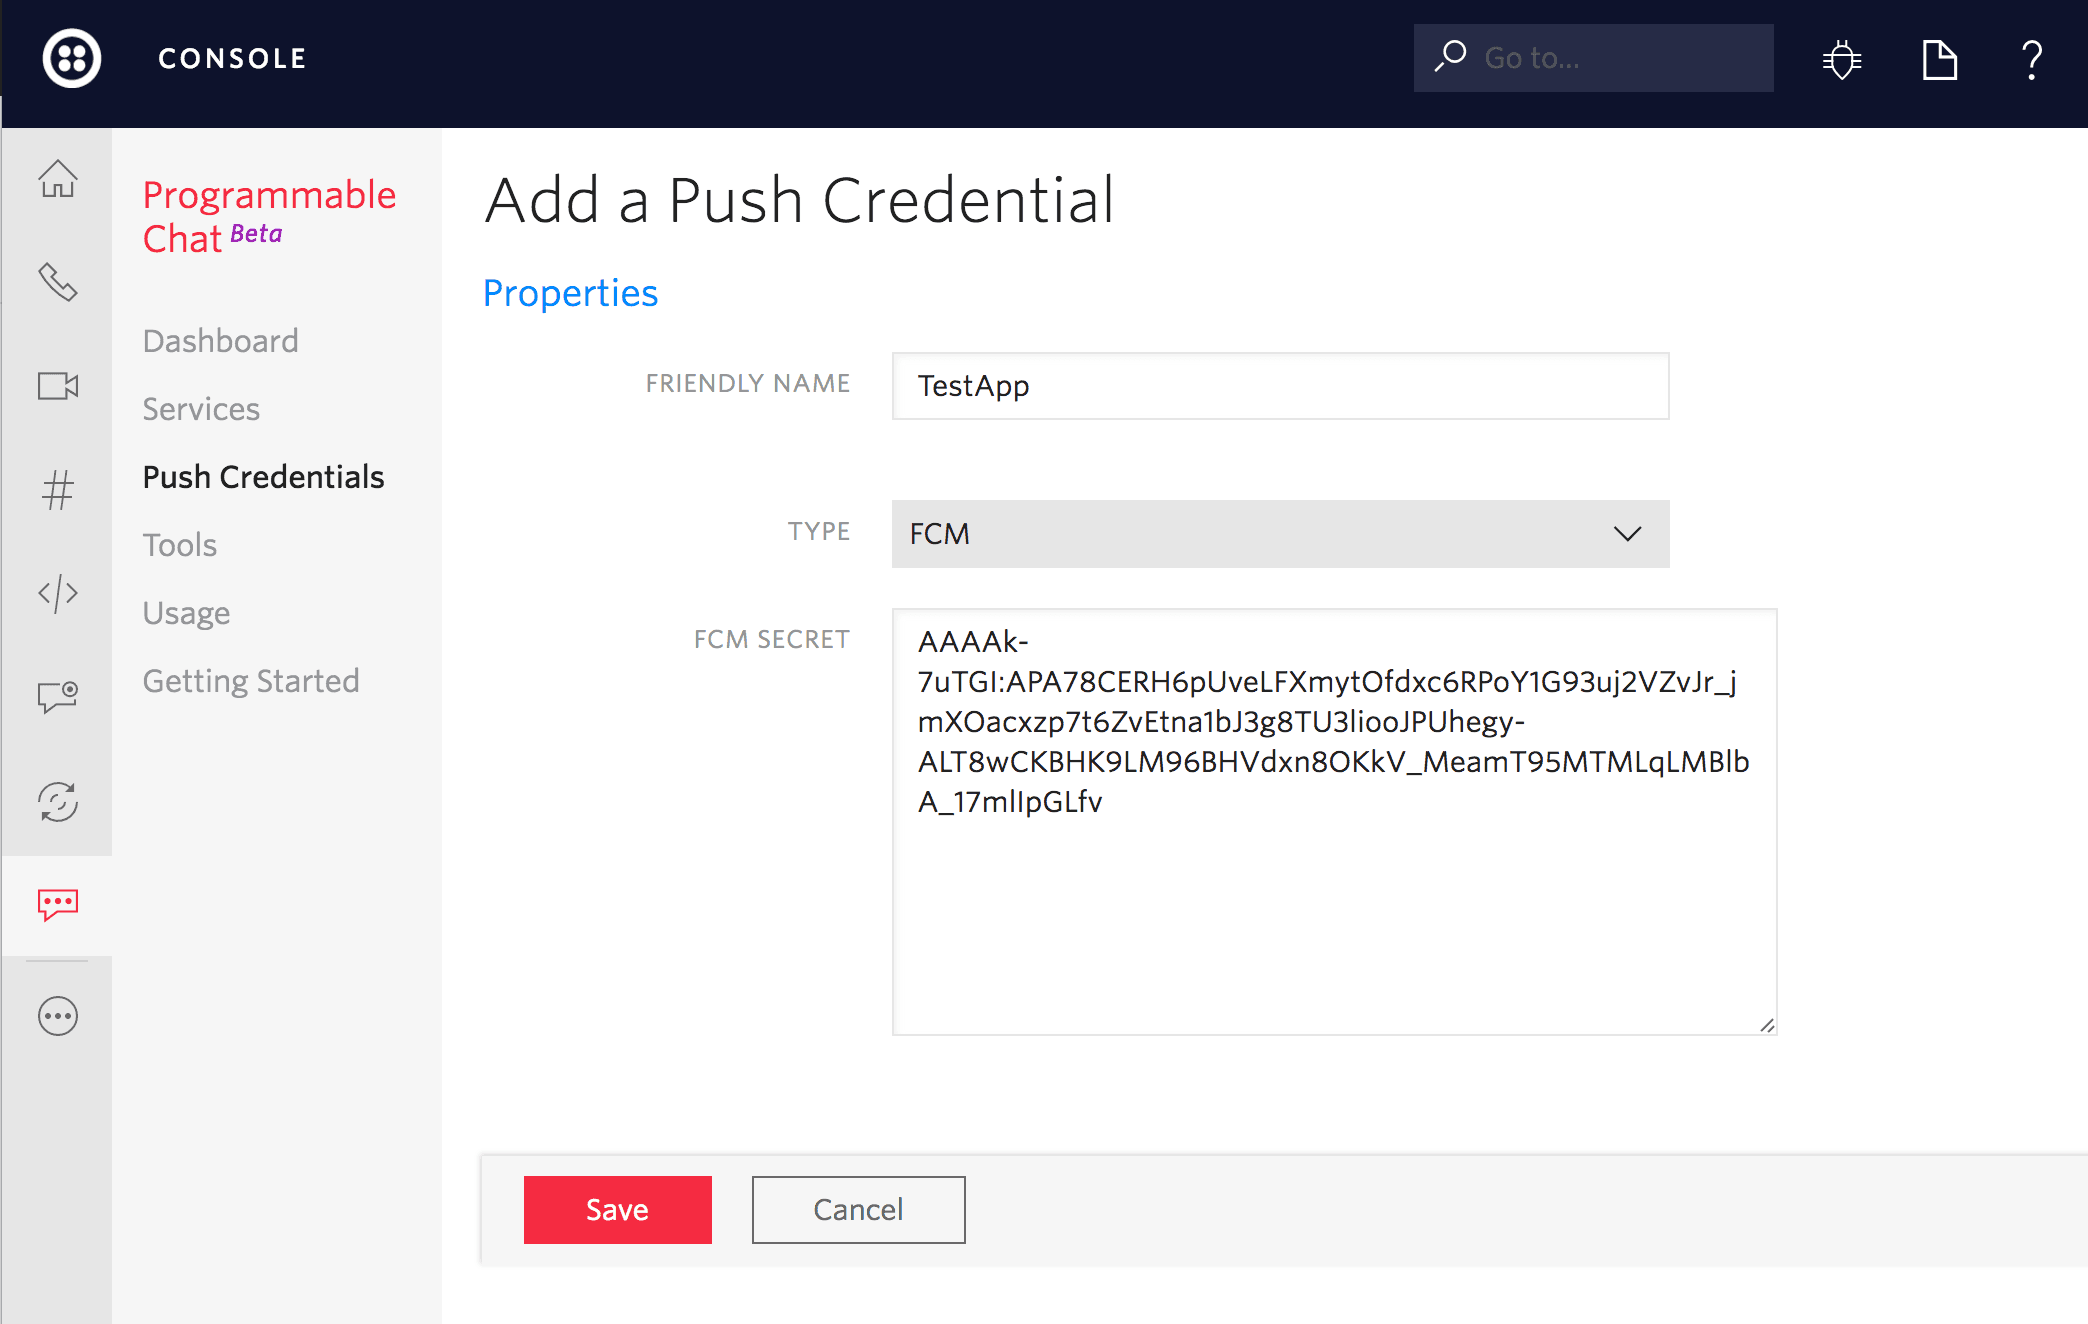
Now that we have our app configured to receive push notifications, let's upload our API Key by creating a Credential resource. Check out the Credentials page in the Twilio console page to generate a credential SID using your API key.

This step is to ensure that your Chat JS SDK client Access Token includes the correct credential_sid - the one you created in Step 3 above. Each of the Twilio SDKs enables you to add the push_credential_sid. To learn how your preferred SDK handles the credential, consult its documentation. The following example shows the Node.js Twilio SDK:
1var chatGrant = new ChatGrant({2serviceSid: ChatServicesSid,3pushCredentialSid: FCM_Credential_Sid,4});
Now it's time to initialize the Firebase with sample code from Step 2 above.
In your web app's early initialization sequence, call the sample code (and do not forget to include/import the Firebase library provided by Google). We recommend including an additional check for the correct import of the Firebase libraries.
1// Initialize Firebase2var config = {3apiKey: "...",4authDomain: "...",5databaseURL: "...",6projectId: "...",7storageBucket: "...",8messagingSenderId: "...",9};10if (firebase) {11firebase.initializeApp(config);12}
In this step, we are requesting permission from the user to subscribe to and to display notifications. Again, we recommend adding checks for the correct initialization of Firebase.
1if (firebase && firebase.messaging()) {2// requesting permission to use push notifications3firebase4.messaging()5.requestPermission()6.then(() => {7// getting FCM token8firebase9.messaging()10.getToken()11.then((fcmToken) => {12// continue with Step 7 here13// ...14// ...15})16.catch((err) => {17// can't get token18});19})20.catch((err) => {21// can't request permission or permission hasn't been granted to the web app by the user22});23} else {24// no Firebase library imported or Firebase library wasn't correctly initialized25}
If you got to this step, then you have Firebase correctly configured and an FCM token ready to be registered with Chat SDK.
This step assumes that you have Chat Client created with correct Access Token from Step 4.
1// passing FCM token to the `chatClientInstance` to register for push notifications2chatClientInstance.setPushRegistrationId("fcm", fcmToken);34// registering event listener on new message from firebase to pass it to the Chat SDK for parsing5firebase.messaging().onMessage((payload) => {6chatClientInstance.handlePushNotification(payload);7});
Info
Make sure to register service workers for multiple Chat channels in different tabs. The service worker needs to be running in order to get push notifications via FCM when a Chat tab is in the background.
Next: Webhook Events