So you want to give Twilio a spin, or you've already signed up for your trial account and want to understand what you can and can't do? If you're a user in the U.S. or Canada, you're in the right place!
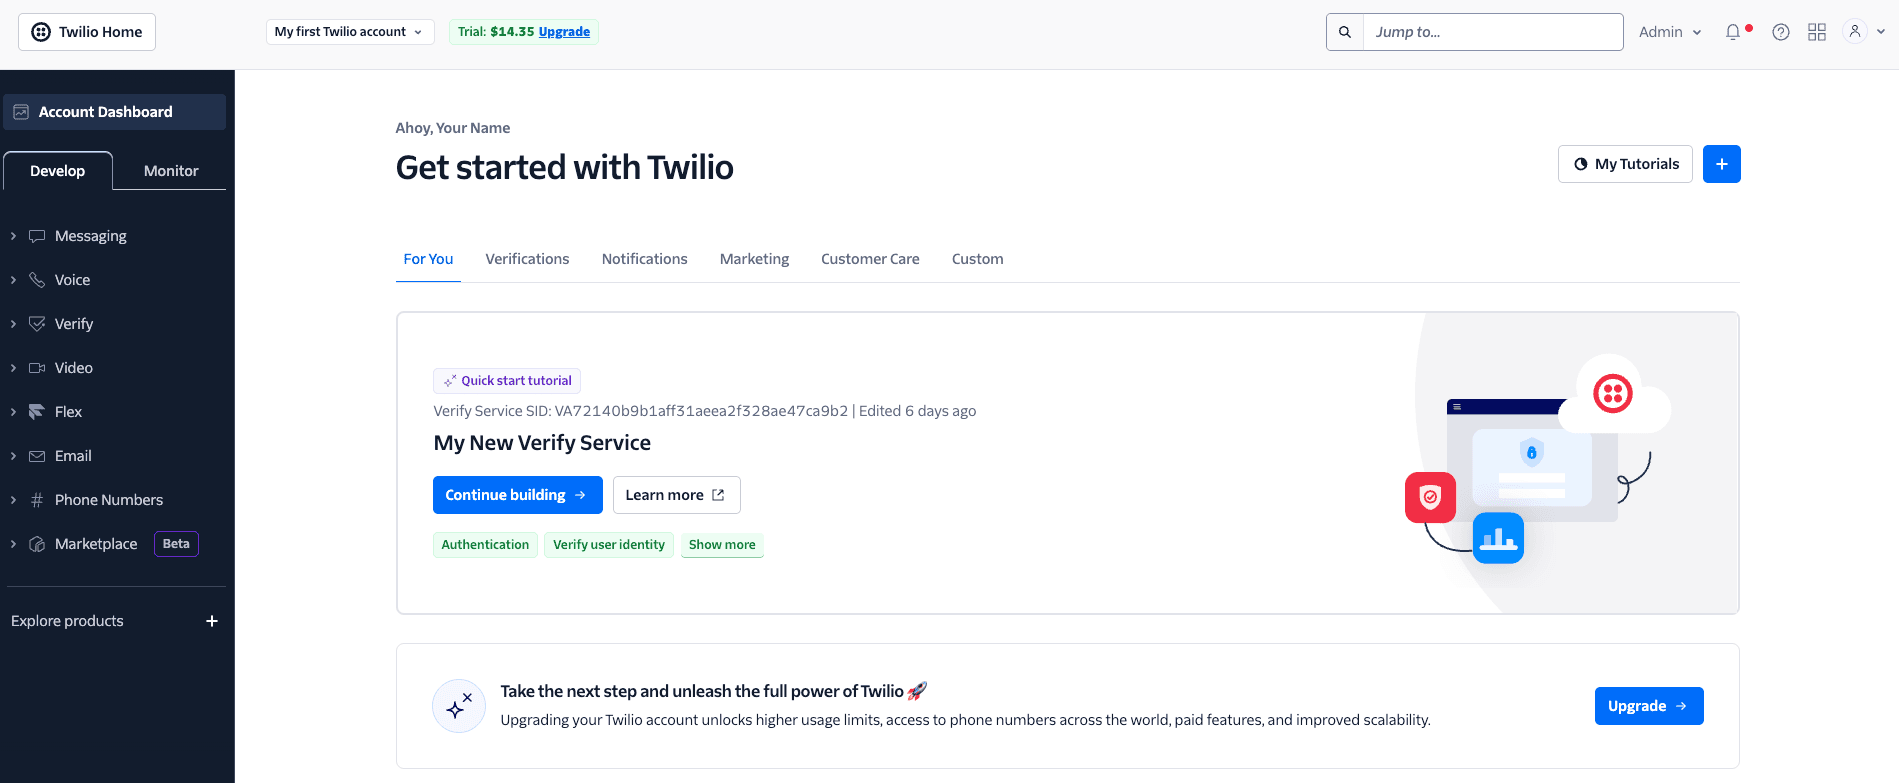
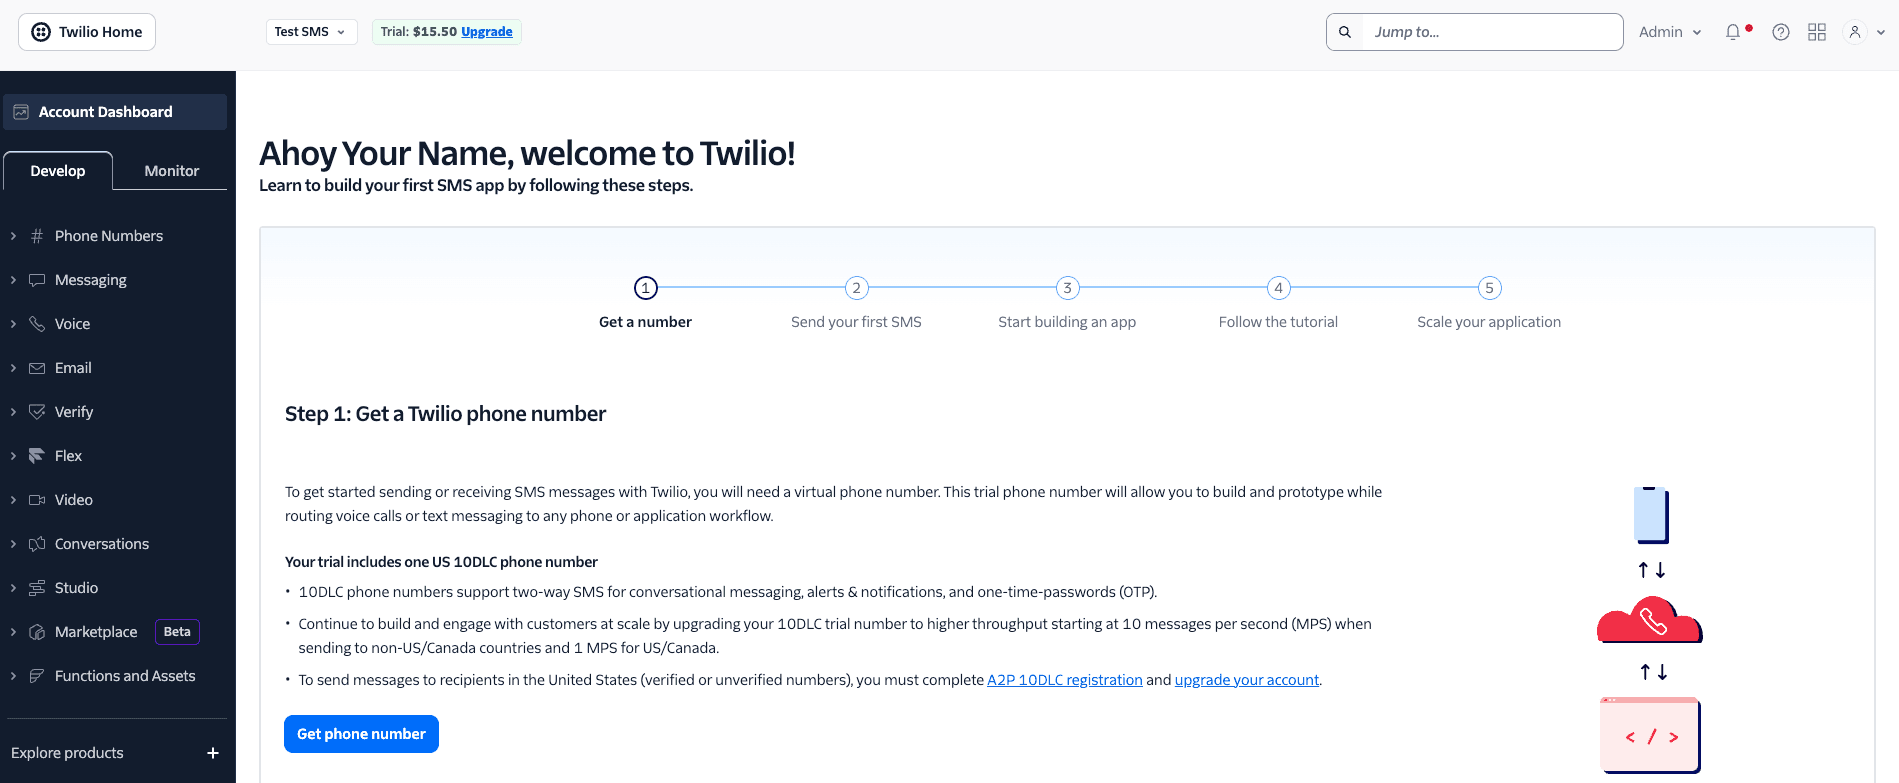
If you've indicated an interest in Twilio Messaging products during your Free Trial sign-up, upon completion of signup you'll land on a page like the one shown in the screenshot below. This landing page presents three possible paths that you can take to begin with:
Path 1 - Explore Messaging Capabilities: take this path if you'd like to immediately start exploring how the Twilio Messaging API works, using the new Toll-Free number that comes with the Free Trial account, together with our Virtual Phone.
Path 2 - Ready to Upgrade?: Take this path if you're ready to begin building right away. You'll get your free Toll-Free Number, upgrade your account and register your TF number so that you can start sending SMS traffic over the network to any destination phone.
Path 3 - Explore more products: Twilio is an omni-channel communication provider. Did you know that you can use your new TF number immediately, with no verification process, to make voice calls? Take this path if you'd like to explore Twilio's voice, email and other communication channels.
Below the screen components shown above, you will find a further section with several crucial pieces of information about the account you've just created. The first of these is your Account SID, which uniquely identifies your account and which you will use in all API calls you make to any Twilio APIs. These calls will also require your Auth Token. Both of these strings can be copied from the text fields and pasted into any API-calling code you wish to run.
Beneath these will appear your Twilio Phone Number, though not until you have provisioned it by clicking on the blue Get phone number button.
This account information will appear at the bottom of each of the four screens (or Steps) in the Free Trial workflow, and can always be found again by returning to your Twilio home page at http://console.twilio.com.
To begin Path 1, click on the blue Get phone number button shown on the first screen above.
To instead begin Path 2, click on the Upgrade my account button.
Clicking the Get Phone number button will reveal your new Toll-Free number:
This is a real, unique Toll-Free number and now it's yours. It will show up in the Phone Numbers section of the Console [link], and as mentioned above, it can be used immediately to make automated Voice calls if you'd like to explore that possibility (see the Explore Products link in the previous screenshot). It cannot be used prior to verification for sending SMS messages, but you can still try it out immediately using our embedded Virtual Phone. To do this you will click the blue Next: Try it out button shown above. This will take you to the second full screen, as shown in the screenshot below.
Note that this screen has the following elements:
Below these form elements is a read-only code box showing the actual code you'll be using to send your SMS message, by way of Twilio's Messaging API. You can toggle between versions of this code in Java, Ruby, PHP, Python, C#, Node.js, or curl
Let's inspect the code sample from this box in a little more detail:
1curl 'https://api.twilio.com/2010-04-01/Accounts/ACe8282685e820510a67f6504a736b2b5b/Messages.json' -X POST \2--data-urlencode 'To=+18777804236' \3--data-urlencode 'From=+18777153684' \4--data-urlencode 'Body=Hello from Twilio' \5-u ACe8282685e820510a67f6504a736b2b5b:[AuthToken]67891011
You'll note that in the code sample, you can see the parameters necessary for the API call that will send this message:
This is real, functional code. We encourage you to copy/paste this code snippet and run it from your platform of choice (e.g. command line, Postman, etc); it will still show up in the Virtual Phone just as it would from this page.
Once you've clicked the Send text message button, the message text you've specified will appear in the Virtual Phone, as shown below:
Congratulations on sending your very first Twilio SMS message! If you wanted to send a second test message at this point (or a third, fourth, fifth, etc), you could simply alter the body text by way of the Message text-entry box on this screen, and press the Send test SMS button again. In each case, the new message will appear in the Virtual Phone window, below the previous one (from the same sender number, of course — you are still only using your single unverified toll-free number):
As you're working with the Twilio Virtual Phone on this Step 2 screen, you may encounter several error or alert messages. First, there is a session timeout of two minutes for phone inactivity, meaning that if you wait longer than two minutes once you're on this screen to send your first message, or if you wait longer than two minutes between messages, or if you navigate away from this screen and return to it after two minutes, you'll receive an alert asking you to click a link to reactivate the phone if you want to continue using it:
Second, while the Virtual Phone is designed to display new messages a few seconds after you've clicked the Send test SMS button (this latency is the result of the Console code making a call to our public Messaging API and then the API sending the message back to the Virtual Phone display in the Console), there will be occasions when a new message is not displayed automatically within a few seconds of the button being clicked. In such cases, the following alert is displayed on the screen:
As the alert indicates, often the issue can be resolved simply by refreshing the page. If not, the link invites you to contact Twilio Support who will help you troubleshoot the issue further.
Eventually, you will likely want to move on from sending very simple text messages to the Virtual Phone and begin investigating more complex applications for programmed messaging. This will also mean moving on from the current, Step 2 screen of the Trial experience. Fortunately, the Virtual Phone will remain accessible to you at later stages of your journey into Twilio messaging, and you don't even need to try to find your way back to this second screen of the Trial workflow to access it. Indeed, the Virtual Phone will remain accessible to you, and in a fuller-featured form, even after you have upgraded from a Trial to a Paid account and can no longer access the Trial experience at all.
Instead, to access the Virtual Phone at any future point, go to the Messaging section of the Console, then Try it out > Send SMS. This link will open a screen on which the Virtual Phone and the various controls to use it will be featured. To learn how to use the Virtual Phone in this new setting, see our Guide to the Virtual Phone.
This subsequent access to the Virtual Phone will be useful while you're waiting for your toll-free verification submission to go through, if you haven't yet decided to proceed with the Toll-Free Verification process, or if you don't yet have a concrete, well-defined business use case that will allow a Toll-Free Verification submission to go through.
Now that you've seen what's involved in sending your first SMS message with Twilio's API, let's get started building your first app. To begin exploring resources that will help you solve common use cases, click the Next: Explore resources button on the bottom right of this screen. You will be taken to the following resource page, which is Step 3 of this workflow:
For the first, featured use case, sending SMS notifications from a browser, the embedded video will walk you through the build process, and the Go to code sample button will take you to the full, multi-language code sample in our CodeExchange repository.
Other Go to code sample links on this page will take you to the CodeExchange code samples for several other popular use cases. You can also access ALL the CodeExchange code samples through the Check out all code samples button at the bottom of the screen.
Note that the code samples found in CodeExchange are not just snippets as we saw in the previous screen; these code samples allow you to build a complete application in the framework of your choice that will be called the Twilio Messaging API. As long as the To (recipient) is specified as the number of Twilio's Virtual Phone, the resulting messages will show up on the Virtual Phone, which can be found in the Messaging > Try it out area of the Console.
When you are ready to start sending messages from one of your new applications across the carrier networks to actual mobile phones, it's time to verify your Toll-Free number and upgrade your account. Click the Unlock more capabilities button to move to the next screen.
As this screen lays out, the Upgrade path begins where you are now, with a Free Trial account and the single unverified Toll-Free number you received on signup.
The next step would be to get your Toll-free number verified. That process, detailed in this guide, involves providing business information including a business address and website, detailing the particular use case for which you will be messaging with this number, and detailing the opt-in process through which you gain your end-user's consent to message them. Toll-Free Verification is an industry-wide regulatory requirement, whose purpose is to ensure that message senders can be trusted and that all messages are welcomed by end users.
To proceed with Toll-free verification, click on the button Verify your phone number which will launch the TF verification console workflow.
Toll-Free Verification is free and can be completed while your account is still in Free Trial status. With a verified Toll-Free number in a Free Trial account, you will be able to message up to five pre-designated cellphone numbers across the mobile network, in addition to the Virtual Phone (typically, the first of these would be your own mobile phone). See Appendix Two below for details on how to add additional pre-designated numbers to your Free Trial account. See Appendix One for a general overview of restrictions on Free Trial accounts, including those on making voice calls, sending messaging internationally, and others.
However, if you are building for a true business use case, you will shortly need the ability to message an unlimited number of end-user cellphones, and you will very likely also want additional Twilio numbers to use as senders.
The final step, then, would be to Upgrade your account itself to a paid/funded account. A paid account will allow you to purchase additional Twilio numbers, and send your messages to unlimited mobile phone numbers. To launch the Upgrade console workflow, click the blue Upgrade account button in the Step 4 screen shown above.
If you choose to upgrade your account, your trial number will be carried over and charged monthly according to current Voice/SMS rates.
The processes for sending messages, making phone calls, and setting up an Elastic SIP Trunk are the same for a trial account as a full paid account. However, there are some restrictions and limitations imposed while you are in trial mode.
As noted earlier, while you cannot use your Free Trial toll-free number to send SMS messages across the carrier network until it has been verified, you CAN use it immediately to make automated voice calls across the network, for example to your own personal mobile phone. However, you'll need to keep in mind some restrictions:
From
number. You can
add a verified outbound caller ID via the console
. You may verify as many phone numbers to be used as your caller ID as you like.
You cannot send SMS messages from your personal phone number with Twilio, whether on a paid or a trial plan. You can only send messages from Twilio numbers. Beyond this, the following limitations apply:
You can send international messages from your trial account as long as you:
Ensure that your (verified) trial number is SMS-enabled and not restricted to sending/receiving messages and calls from local numbers. You can see your phone number's capabilities on the Phone Numbers page in the Console:
This number is restricted to domestic calls and messages and has Voice, SMS, and MMS capabilities.
When you sign up for Twilio, you will get a free telephone number and a free trunk. You can fully configure this SIP Trunk for testing and placing actual calls to and from your business. Twilio Trial accounts can take full advantage of SIP Trunking services for testing, there are a few restrictions that apply only to trial accounts. Keep these in mind as you develop:
Trial Accounts have a maximum of:
Note: Trial accounts may only place Trunking calls TO and FROM verified numbers. Be sure to verify any non-Twilio phone number first by having Twilio place a verification call to it. This is an extra security measure that we remove once you're calling from an upgraded account. A purchased Twilio phone number also qualifies as a verified number you can use as the caller ID.
If your Twilio needs to expand, or you need to accomplish something that isn't available to your trial account, you'll need to upgrade your trial account to a fully paid account. The easiest way to do this is via the Step 4 Screen shown above, by clicking on the blue Upgrade account button. At this point you'll need to provide payment information — your credit card details or PayPal account — on the billing page. You can have Twilio automatically charge you when your balance falls below a certain threshold that you set, or you can buy Twilio credits with individual payments.
When you signed up for your trial account, you verified your personal phone number. You can see your list of verified phone numbers on the Verified Caller IDs page.
You must verify any non-Twilio phone numbers you wish to send SMS messages or MMS messages or place phone calls to while in trial mode. Additionally, you must verify any non-Twiio phone numbers you wish to receive inbound calls from while in trial mode. These are extra security measures for trial accounts that we remove once you upgrade your account. You may verify as many phone numbers as you like.
To make other non-Twilio phone numbers available to you in trial mode:
Click the Phone Numbers dropdown on the side navigation menu:
Click Verified caller IDs under the Manage dropdown. Once on the Verified caller IDs page, click the Add a new Caller ID button to add a new number:
Enter the desired phone number to verify, select the desired verification method, and then click Verify Number :
Note You will need access to this device to receive the call or text with your verification code.
Enter the verification code. You're now ready to text or call this number with your trial Twilio account.